3D Patina Polishing and Maintenance Guide
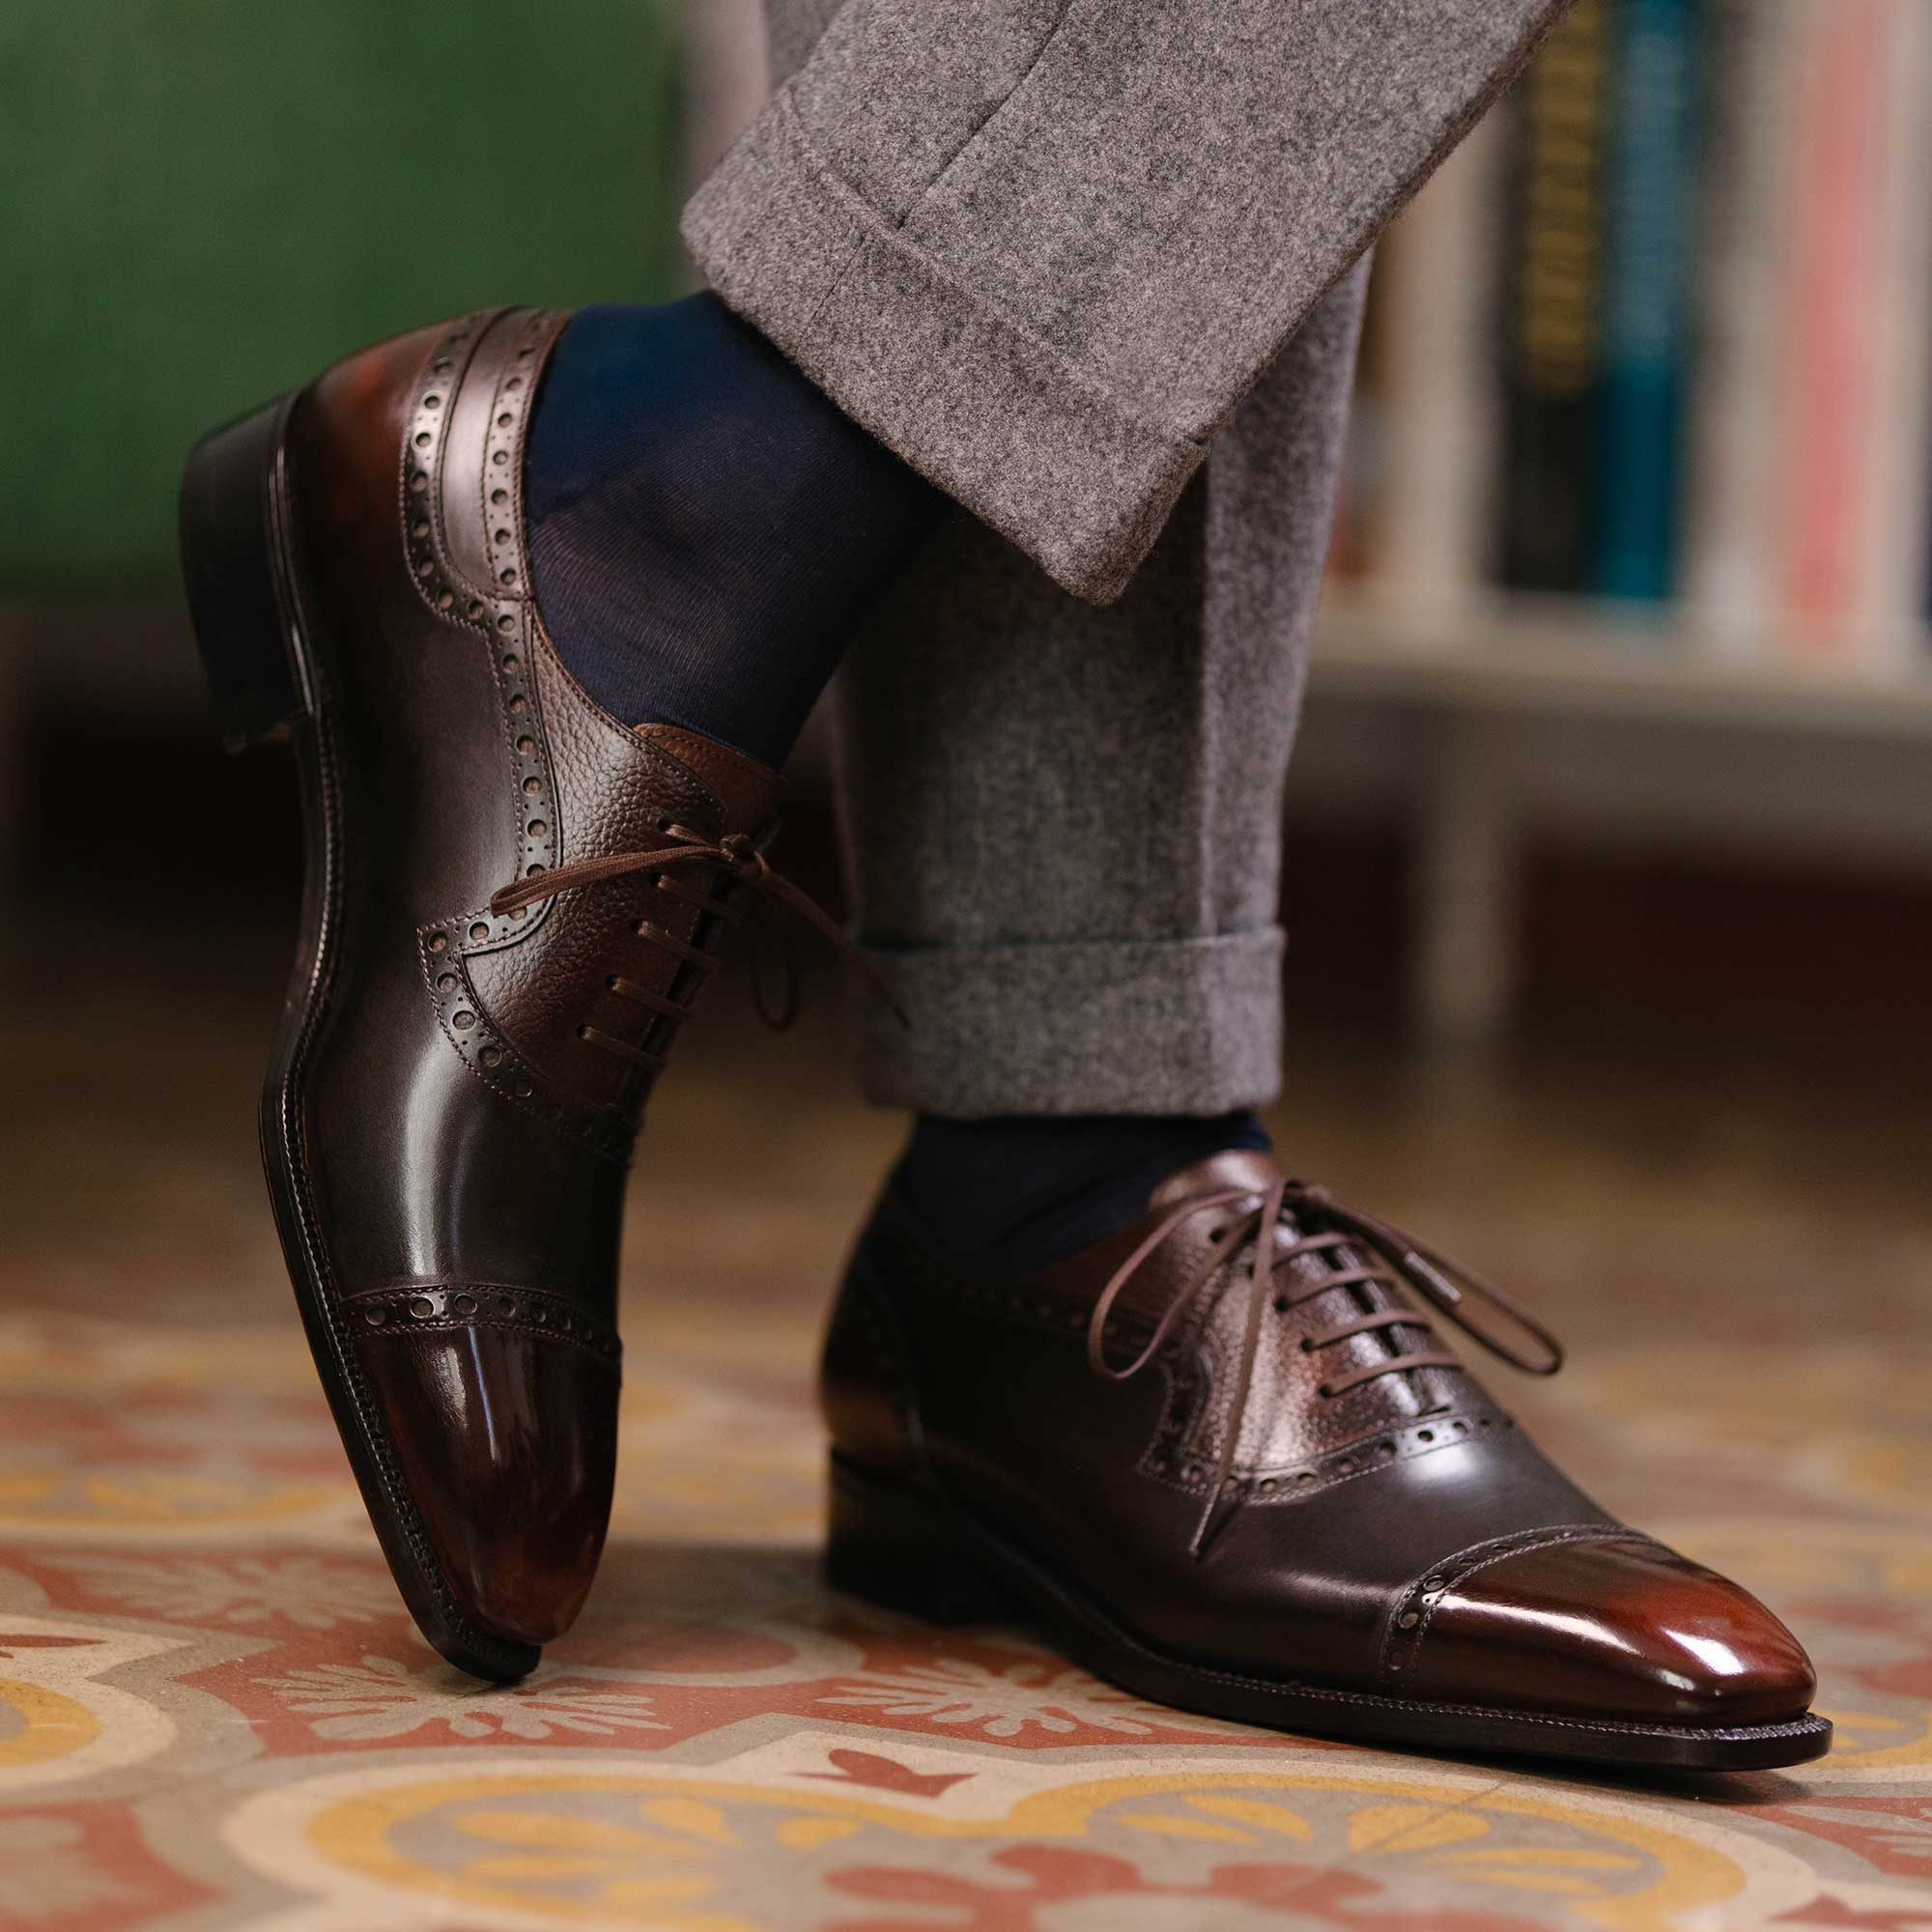
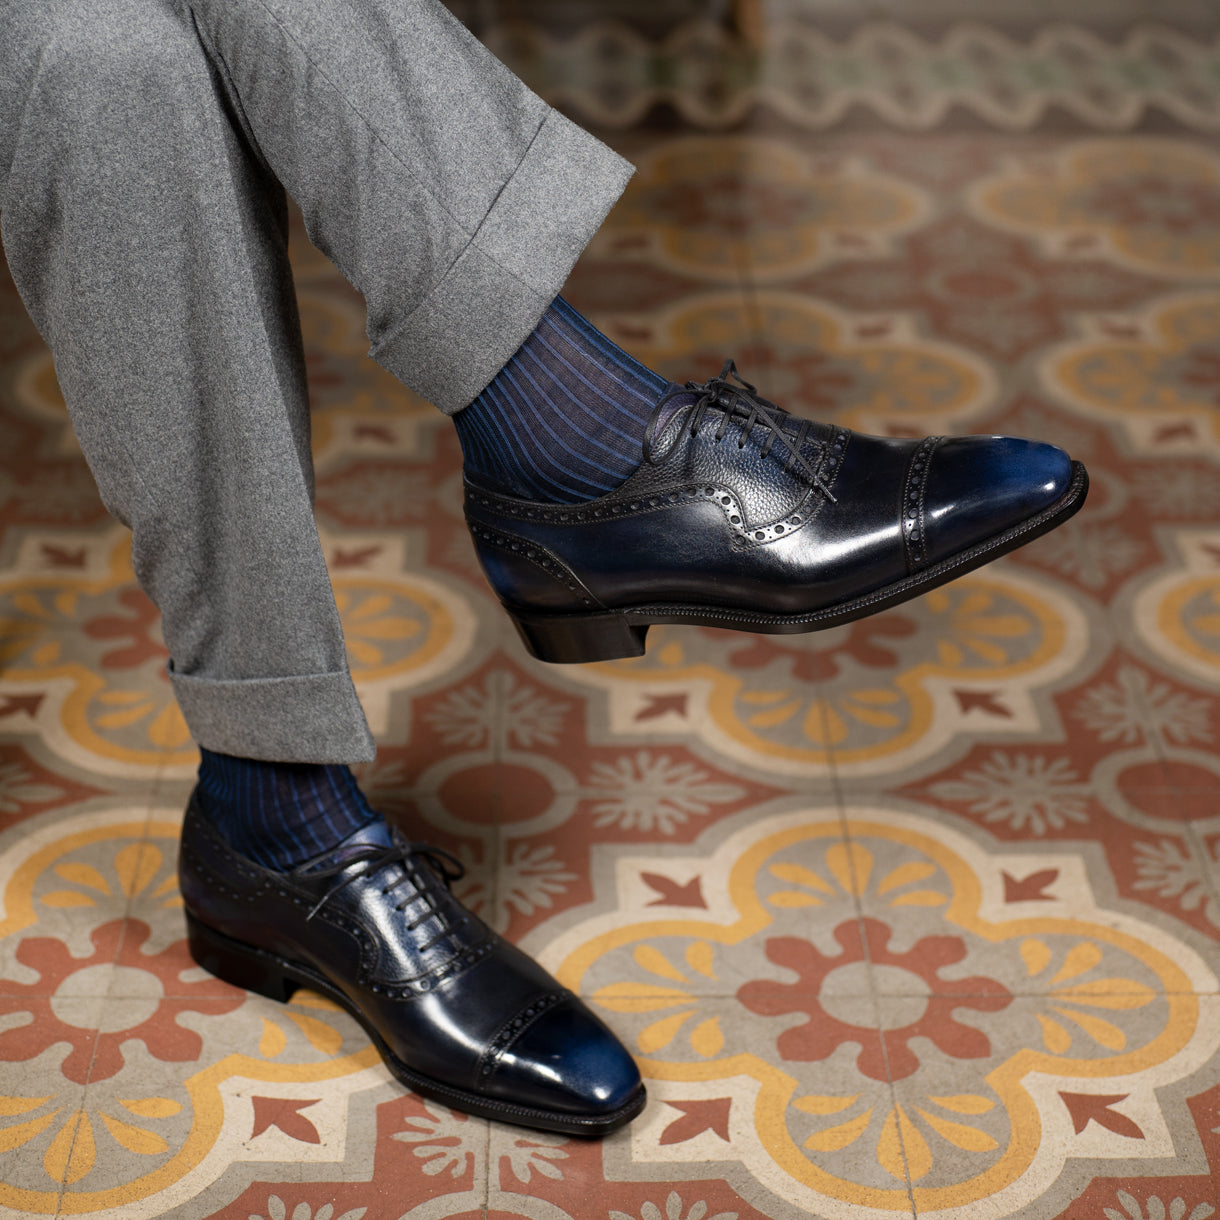
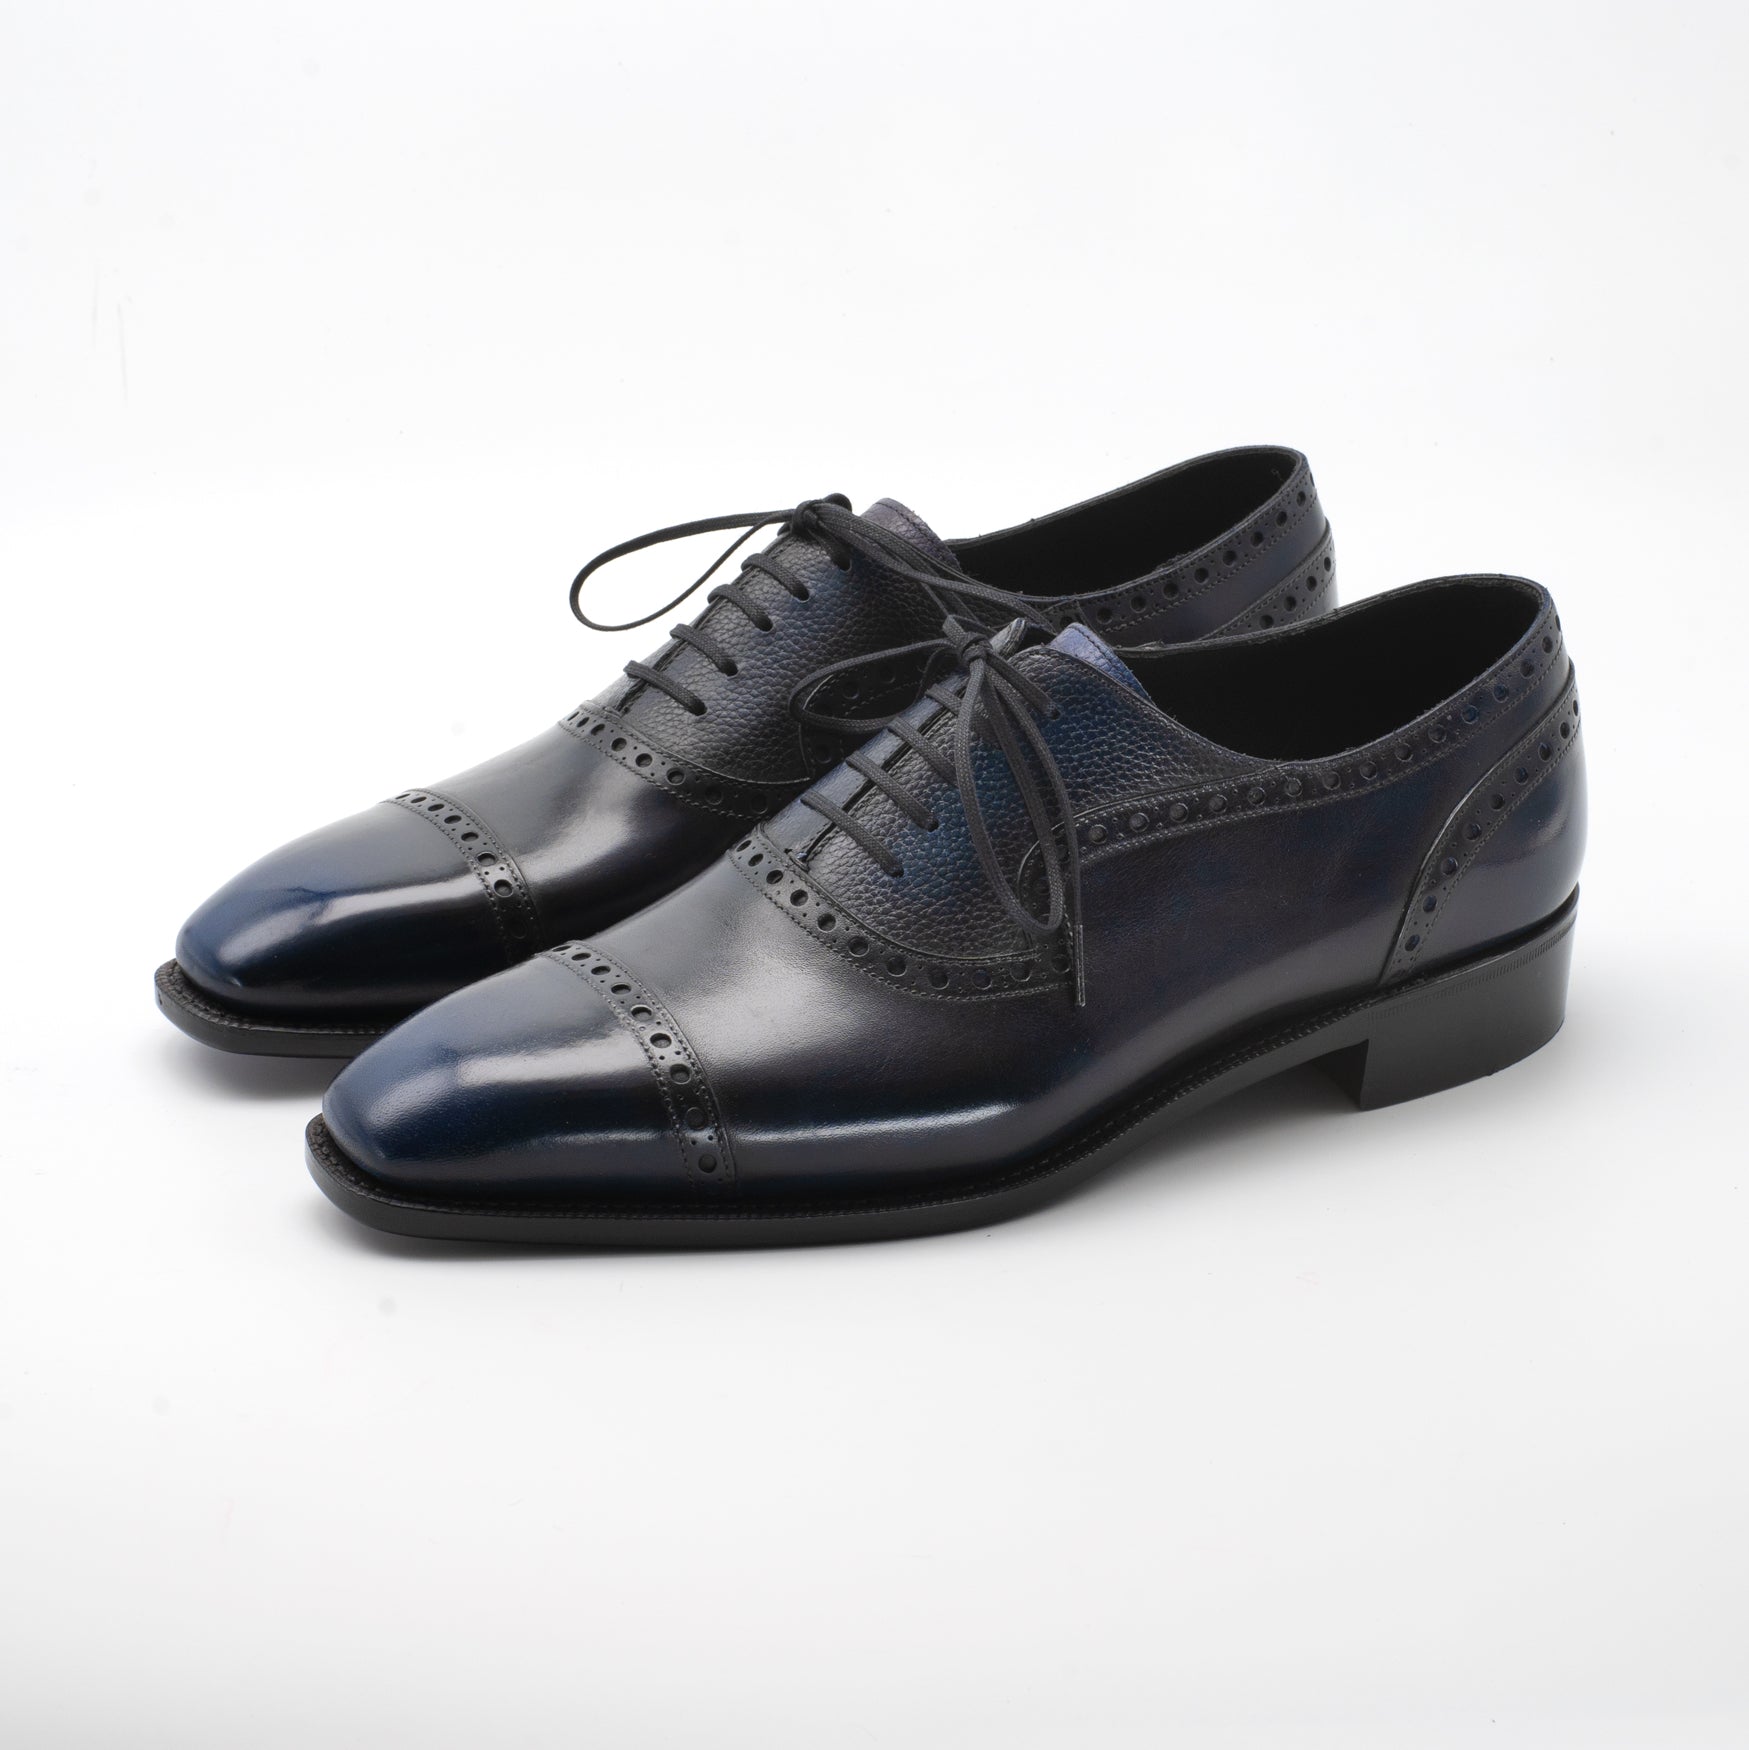
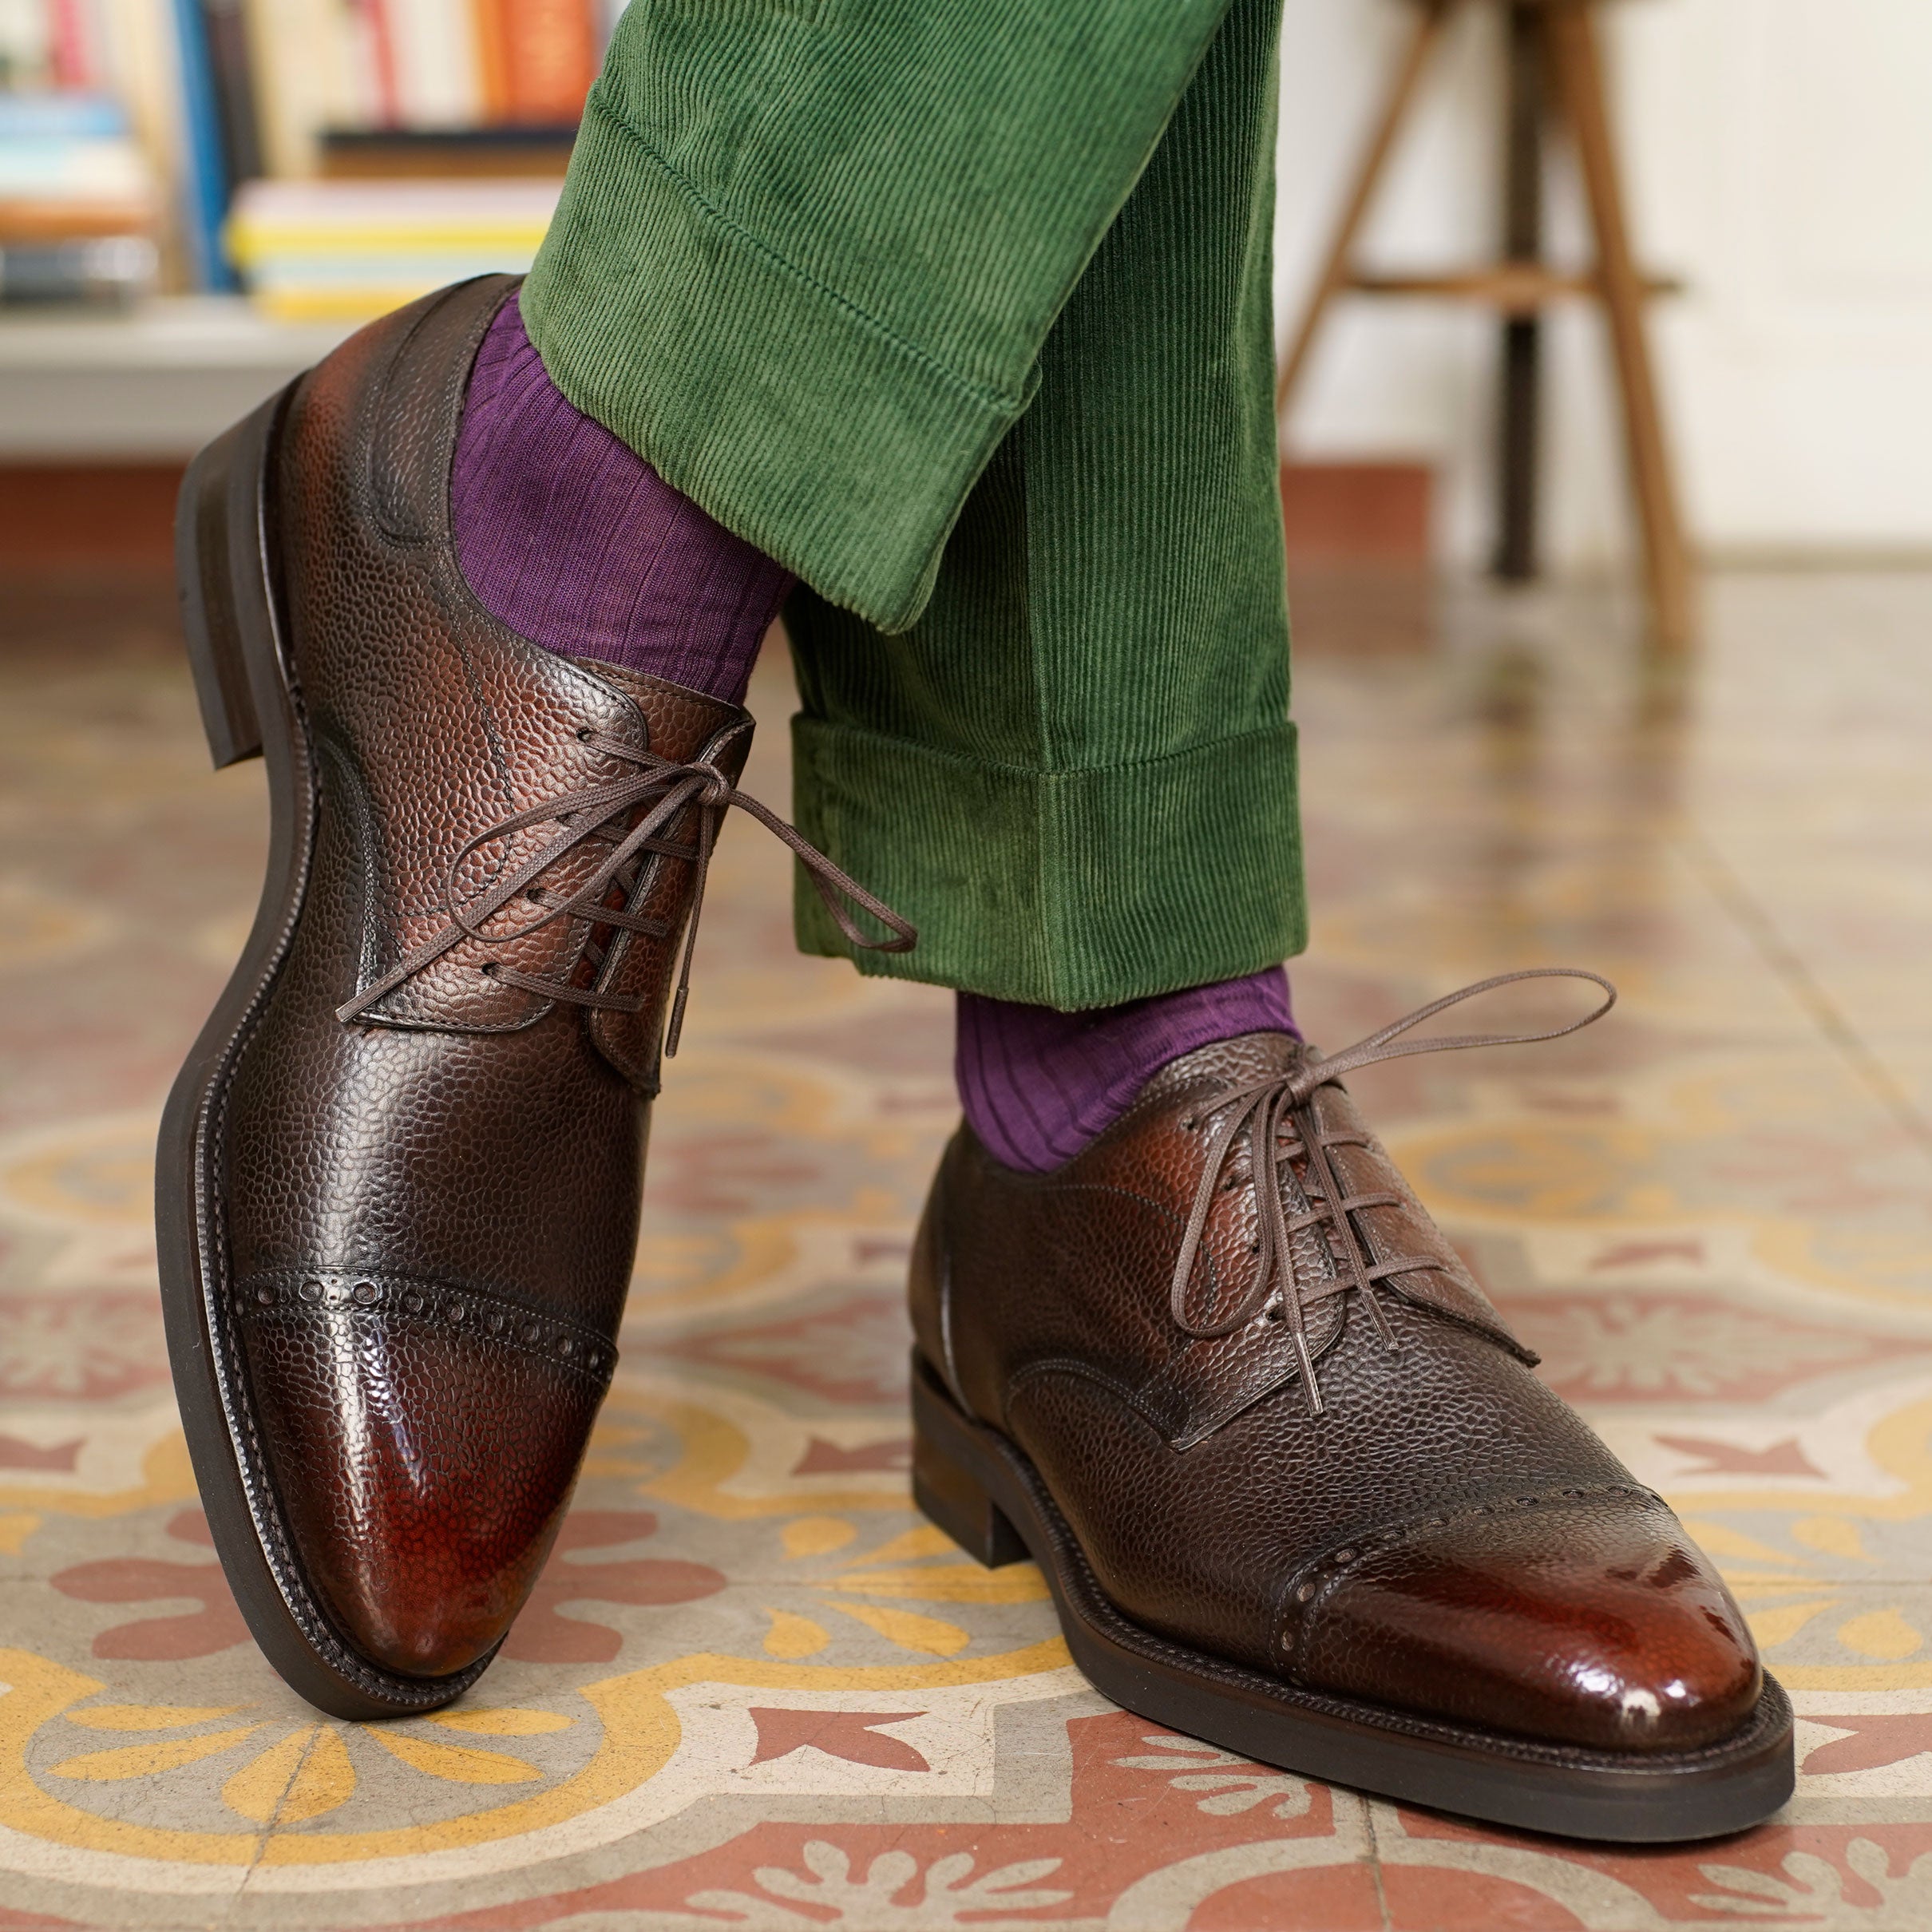
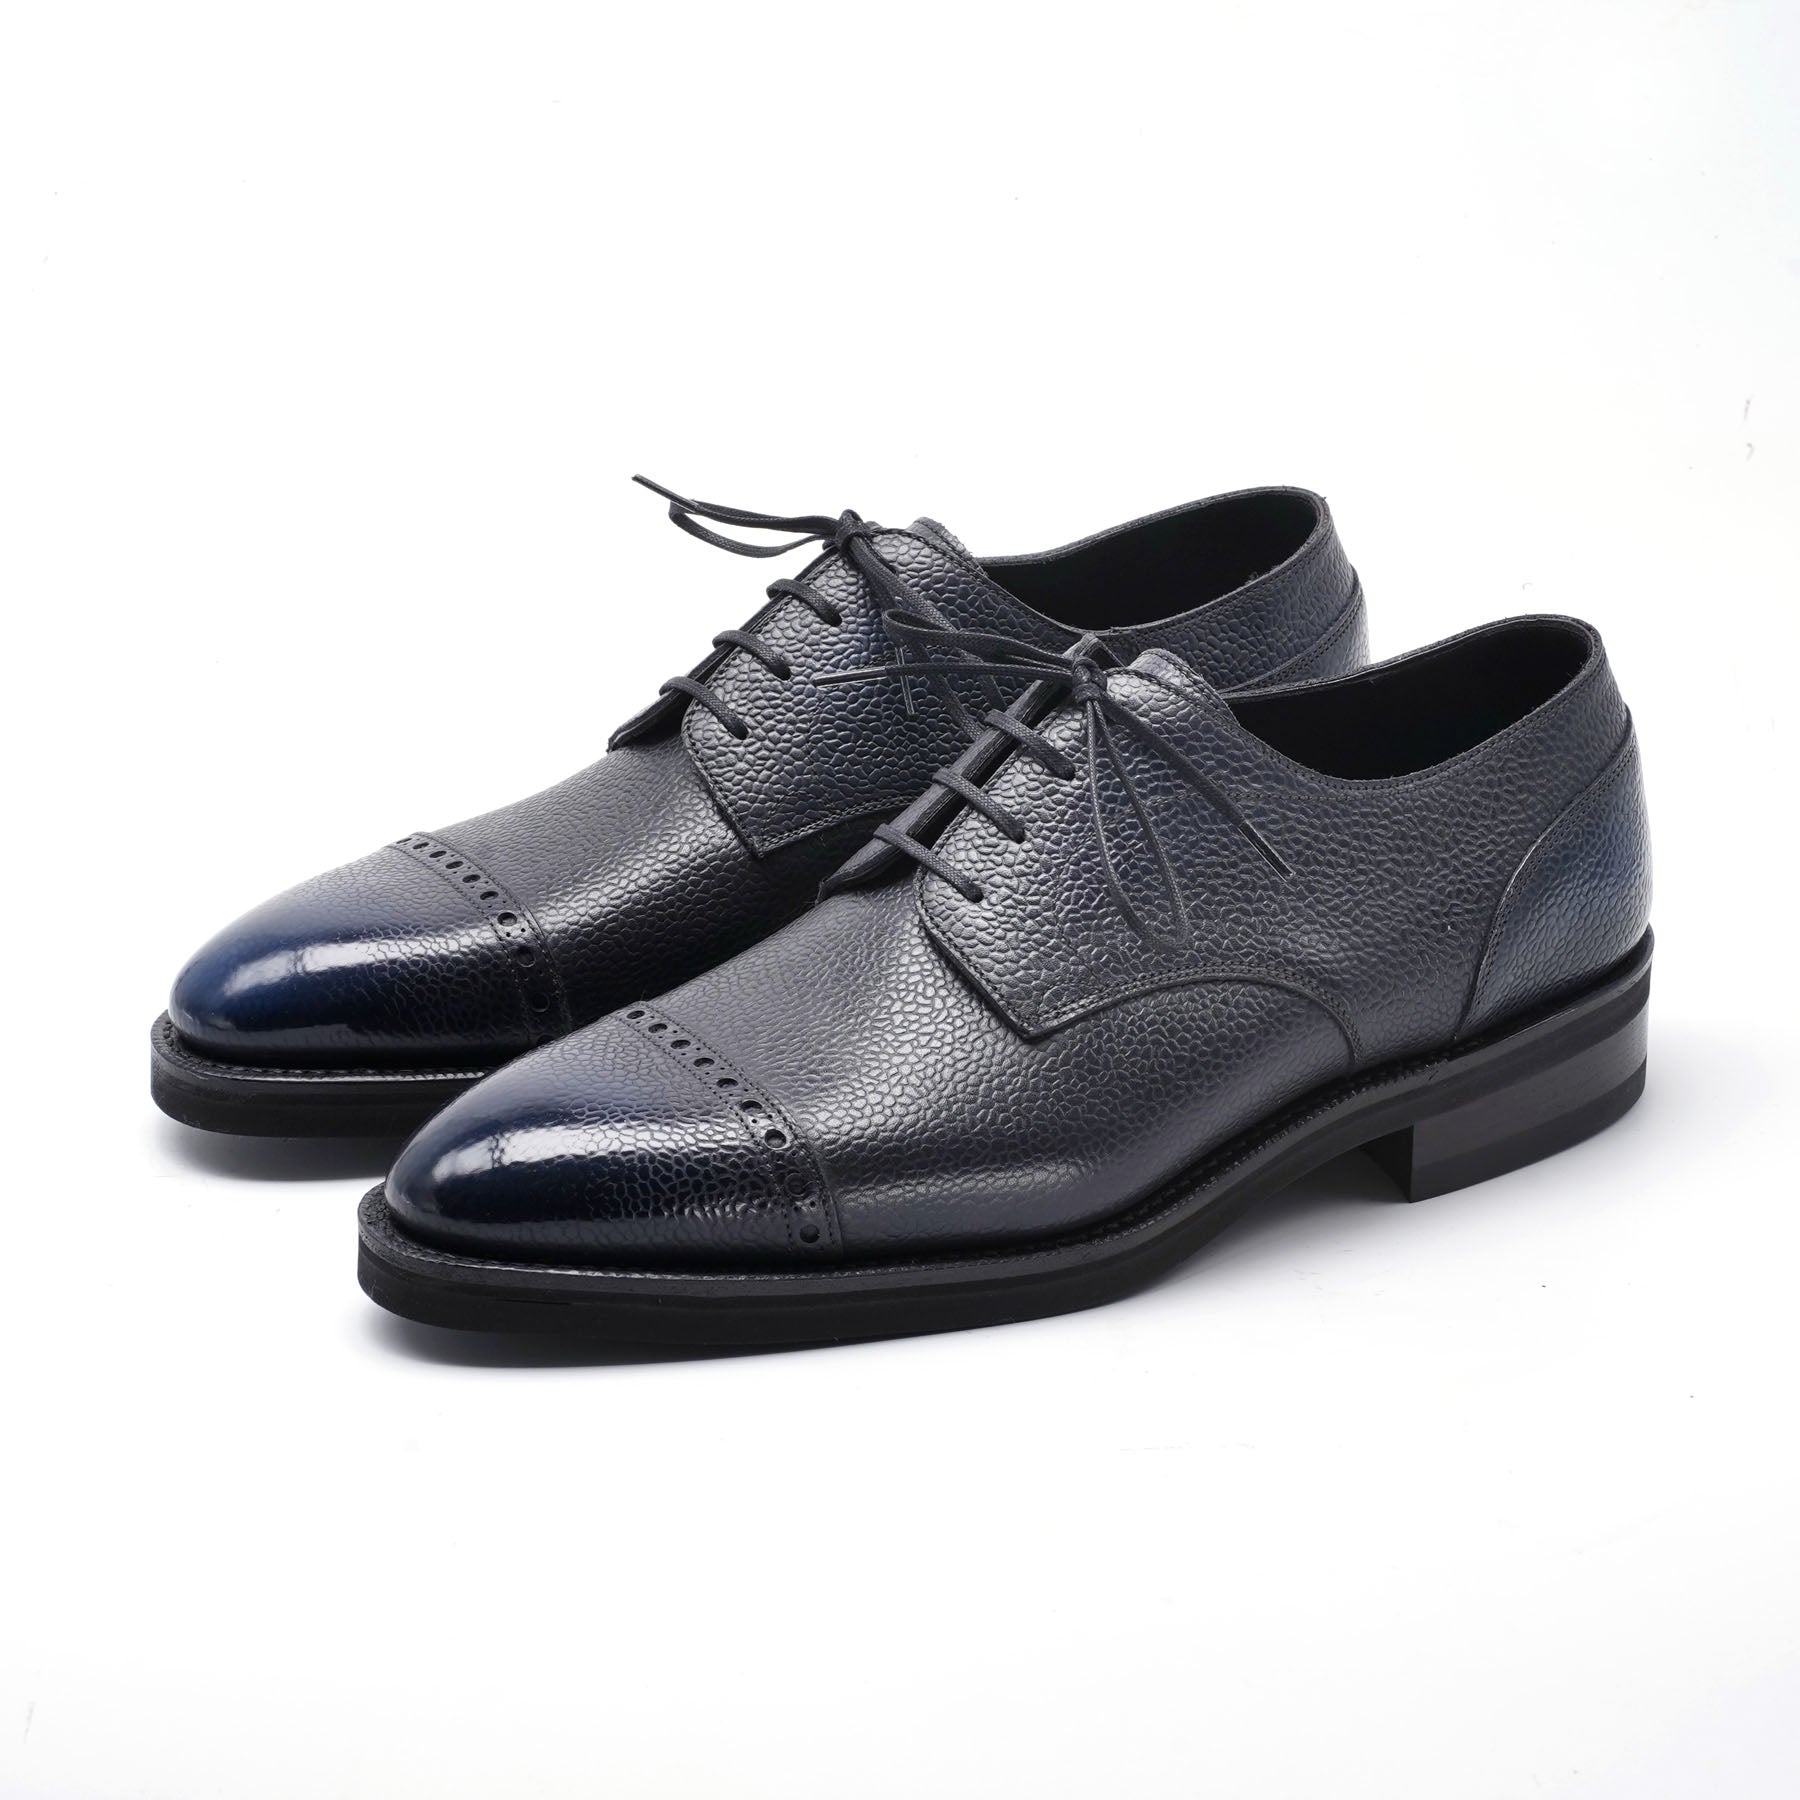
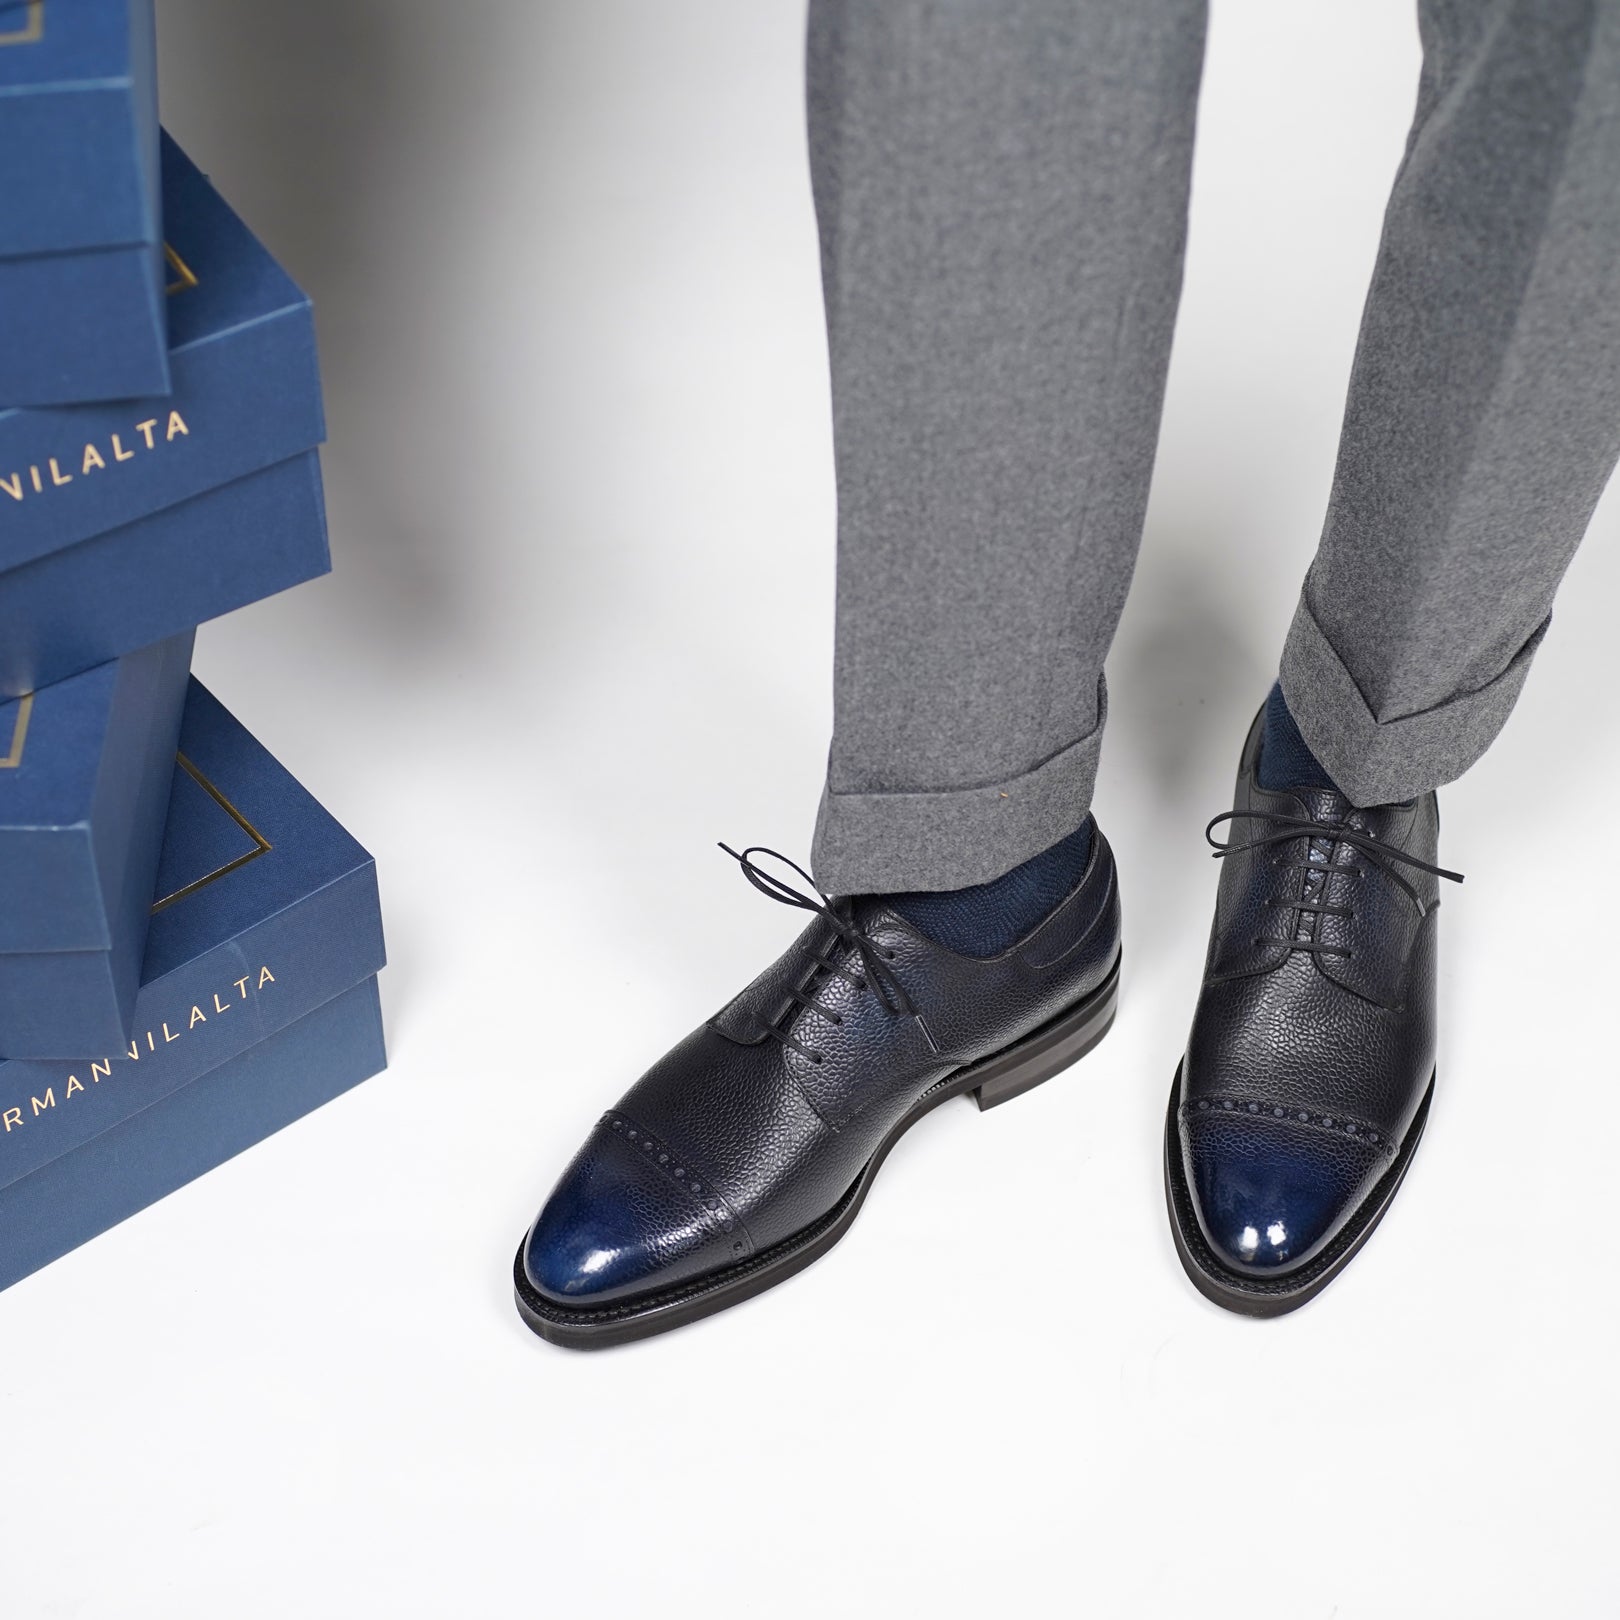
Among our colorful finishes, we receive the most questions related to the polishing and maintenance of our signature 3D Patina. We understand that shoe care is a labor of love for many of our clients, so we thought it was about time for us to make a special guide for those of you who own a pair of our shoes with this special patina.
However difficult and intricate the patina may seem, by following these steps you’ll nourish and shine the patina easily without causing any harm.
Here’s a list of what you’ll need:
- Cleansing and nourishing cream for footwear (we recommend Saphir Universal Cream)
- Polishing cream (we recommend Saphir polishing cream)
- Shoe trees
- High gloss wax black (we recommend Saphir high gloss wax)
- High gloss wax neutral (we recommend Saphir high gloss wax)
- Large brush (we recommend horsehair brushes)
- Small applicator brush
- Cotton pads
- One pair of rags, preferably 100% cotton
Along with these items, get in the polishing mood by preparing something sensible to drink and the music of your choice so that you can relish this up-to-2-hour polishing session. Enjoy!
For starters, we take off the laces. Make a knot in one of them, so you can remember which one belongs to which shoe. Now is also the time to put your best shoe trees to good use. In addition to the normal advantages of shoe trees that we mentioned in the first shoe polishing guide, they will give instrumental support when working on the color gradation of the patina.
With the shoe trees inserted, we’ll get started on polishing by using a good neutral lotion. The lotion we recommend helps to wipe off dirt and remove some of the old wax. It’s worth mentioning that you should avoid strong cleaners such as Saphir Renovateur and Saphir Reno’Mat as they can remove some of the patina.
Add an amount the size of a coin of lotion to your cotton rag and swirl it on a clean surface to evenly spread the lotion on the rag surface. This will make each application of the lotion much easier to apply, and will keep the rag from being too saturated when initially touching to the leather.
With circular motions and a light touch, moisturize the upper leather until the cloth starts to drag, which is a signal to add another round of lotion. When done, let each shoe rest for 5 minutes, then buff lightly with a soft horsehair brush to even out any lotion residue.
The shoe is now ready for the cream. This step is twofold: first condition the areas where the welt meets the upper which is vital in aiding the part of the shoe that receives the most stress from wear; and second, is a part of the trick to maintain that elegant color gradation.
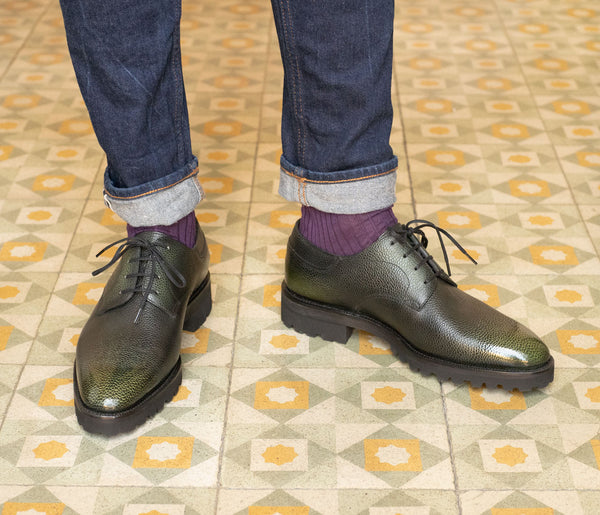
Get your small applicator, dab it lightly in the cream (black for our Derby Simple green and dark brown for our Derby Simple brown), swirl it in the backside of the lid and apply evenly along the welt. Let each shoe rest for 15 minutes before brushing the welt lightly with a horse hair brush. Also, if some of the cream layers up heavily on the rubber sole, you can easily remove it with a damp microfiber cloth.
Now let’s tend to the color gradation. Again, dab the brush in the cream, swirl in the backside of the lid but this time let the cream rest on the brush for two minutes before applying. This will allow the solvents in the cream to evaporate, ultimately making the cream harden and act more similar to painting clay.
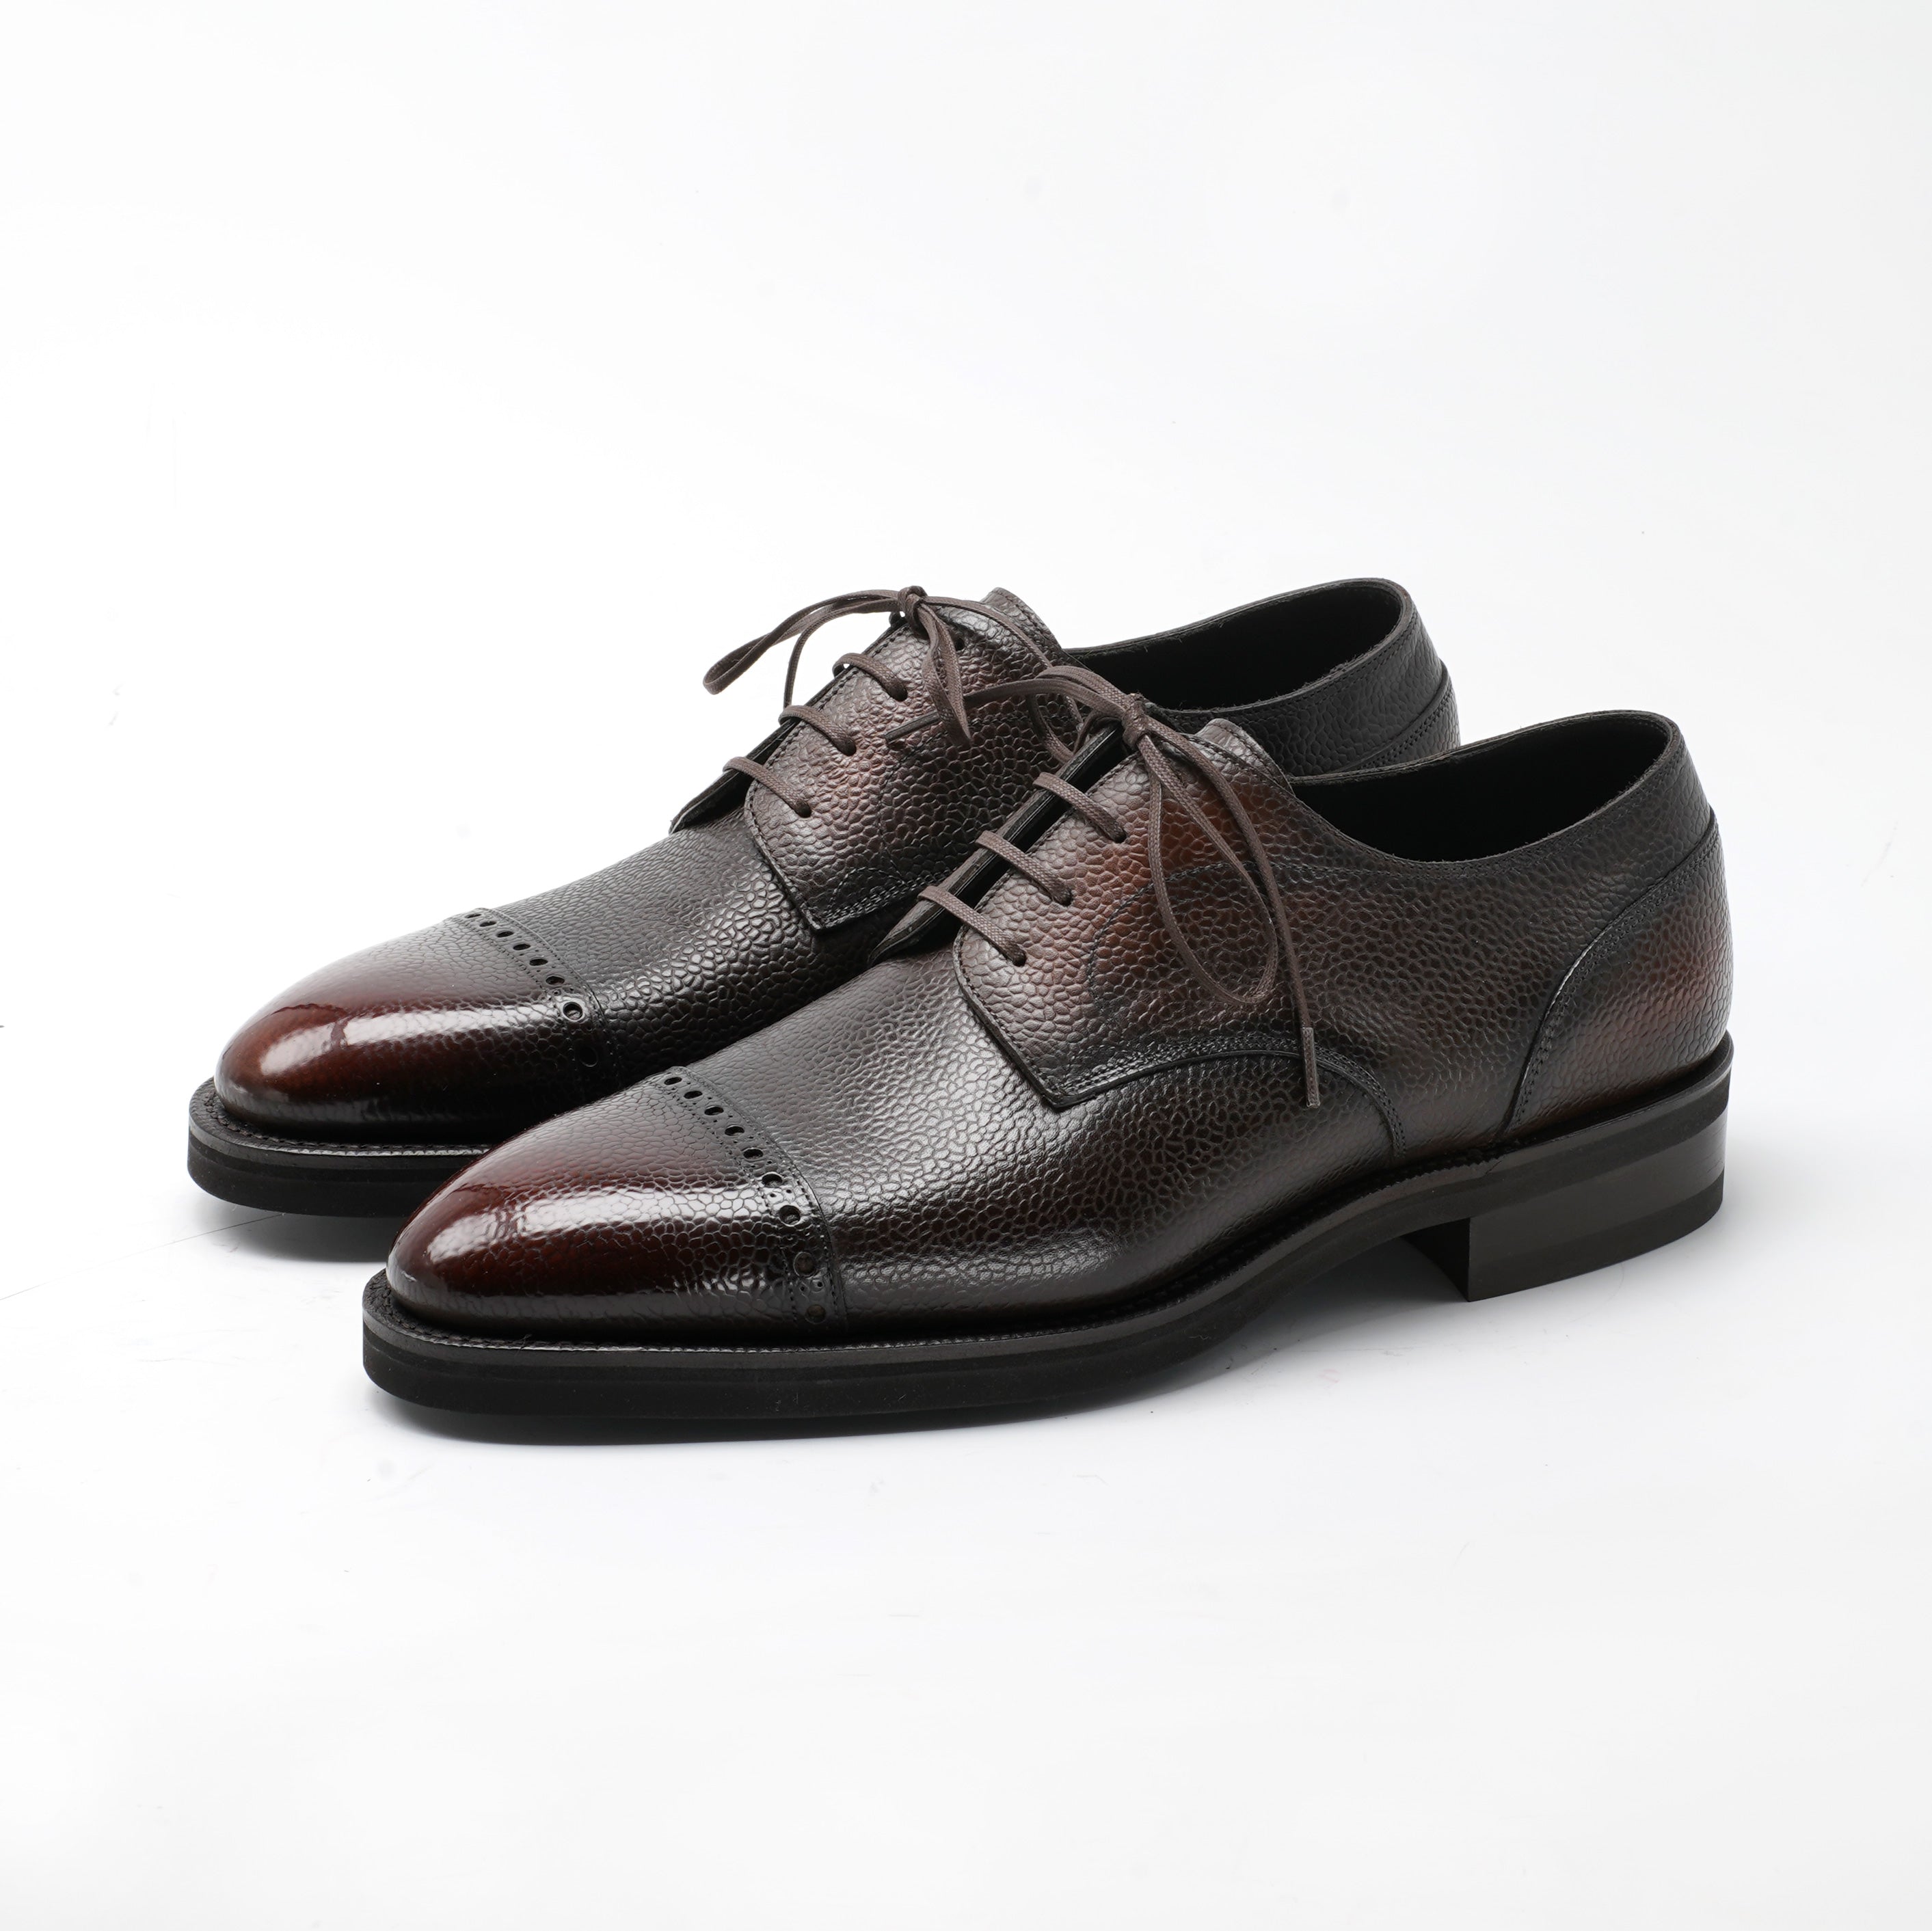
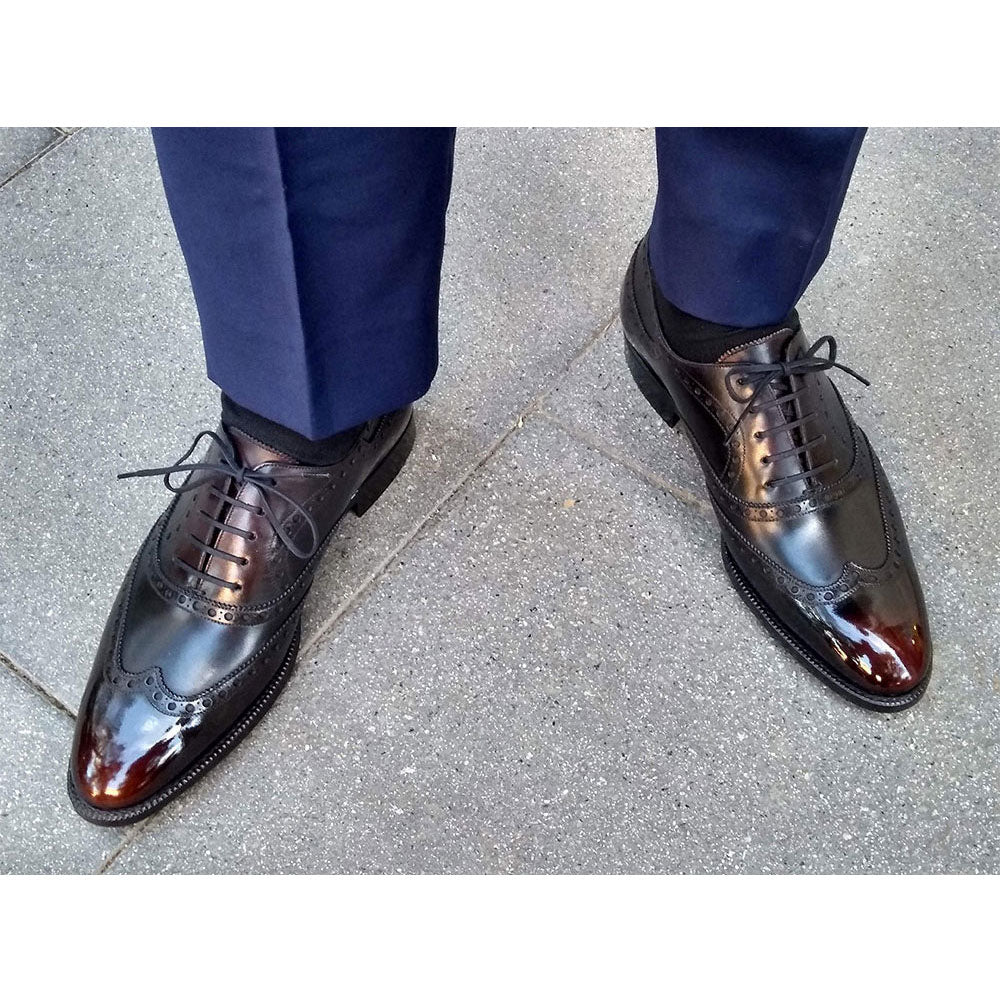
Notice where the 3D patina goes from dark to light in the color gradation, from the tongue onto the vamp, from the quarters to the facing, and along the stitching. Accentuate the gradation by applying the first coat of application with circular motion in the intended darkest areas. As the brush leaves more and more cream on the surface, you can work your way towards the lighter areas. Let the brush and each shoe rest for 30 minutes.
For the 3D gradation, notice that one side of the pebble grain is darker than the other. In the areas you’d like to restore this effect, angle your dry brush 45˚ and dab the side of the pebble you’d like to darken. Let this cream rest on the shoes for another 30 minutes and relax.
With much of the groundwork done, you can now emphasize the 3D effect by buffing with a cotton pad or clean part of a cotton rag instead of the usual horse hair or boar bristle brush.
Starting from the lighter colored part of the shoe, buff with a little bit of force to adjust the color gradation of the applied cream. Ease up the force as you get closer to the darker areas.
Finally, the finishing step with the high gloss wax. With your index finger, rub a thin layer of wax (black for our Derby Simple green and dark brown for our Derby Simple brown) onto your finger and apply thin wax coatings across the dark parts of the pebble grain. When you’ve rounded off each shoe with two full coatings, let the shoes rest for 20 minutes.
For the lighter parts of the 3D patina, we recommend using a wax in either a matching color or in neutral. Feel free to add 6 coatings or more of wax in the lighter areas as these areas won’t break. Finally, buff the wax with your cotton rag and one drop of water at a time to create a high shine. If you’d like to continue with the true mirror shine, follow the last steps as mentioned in our first polishing guide.
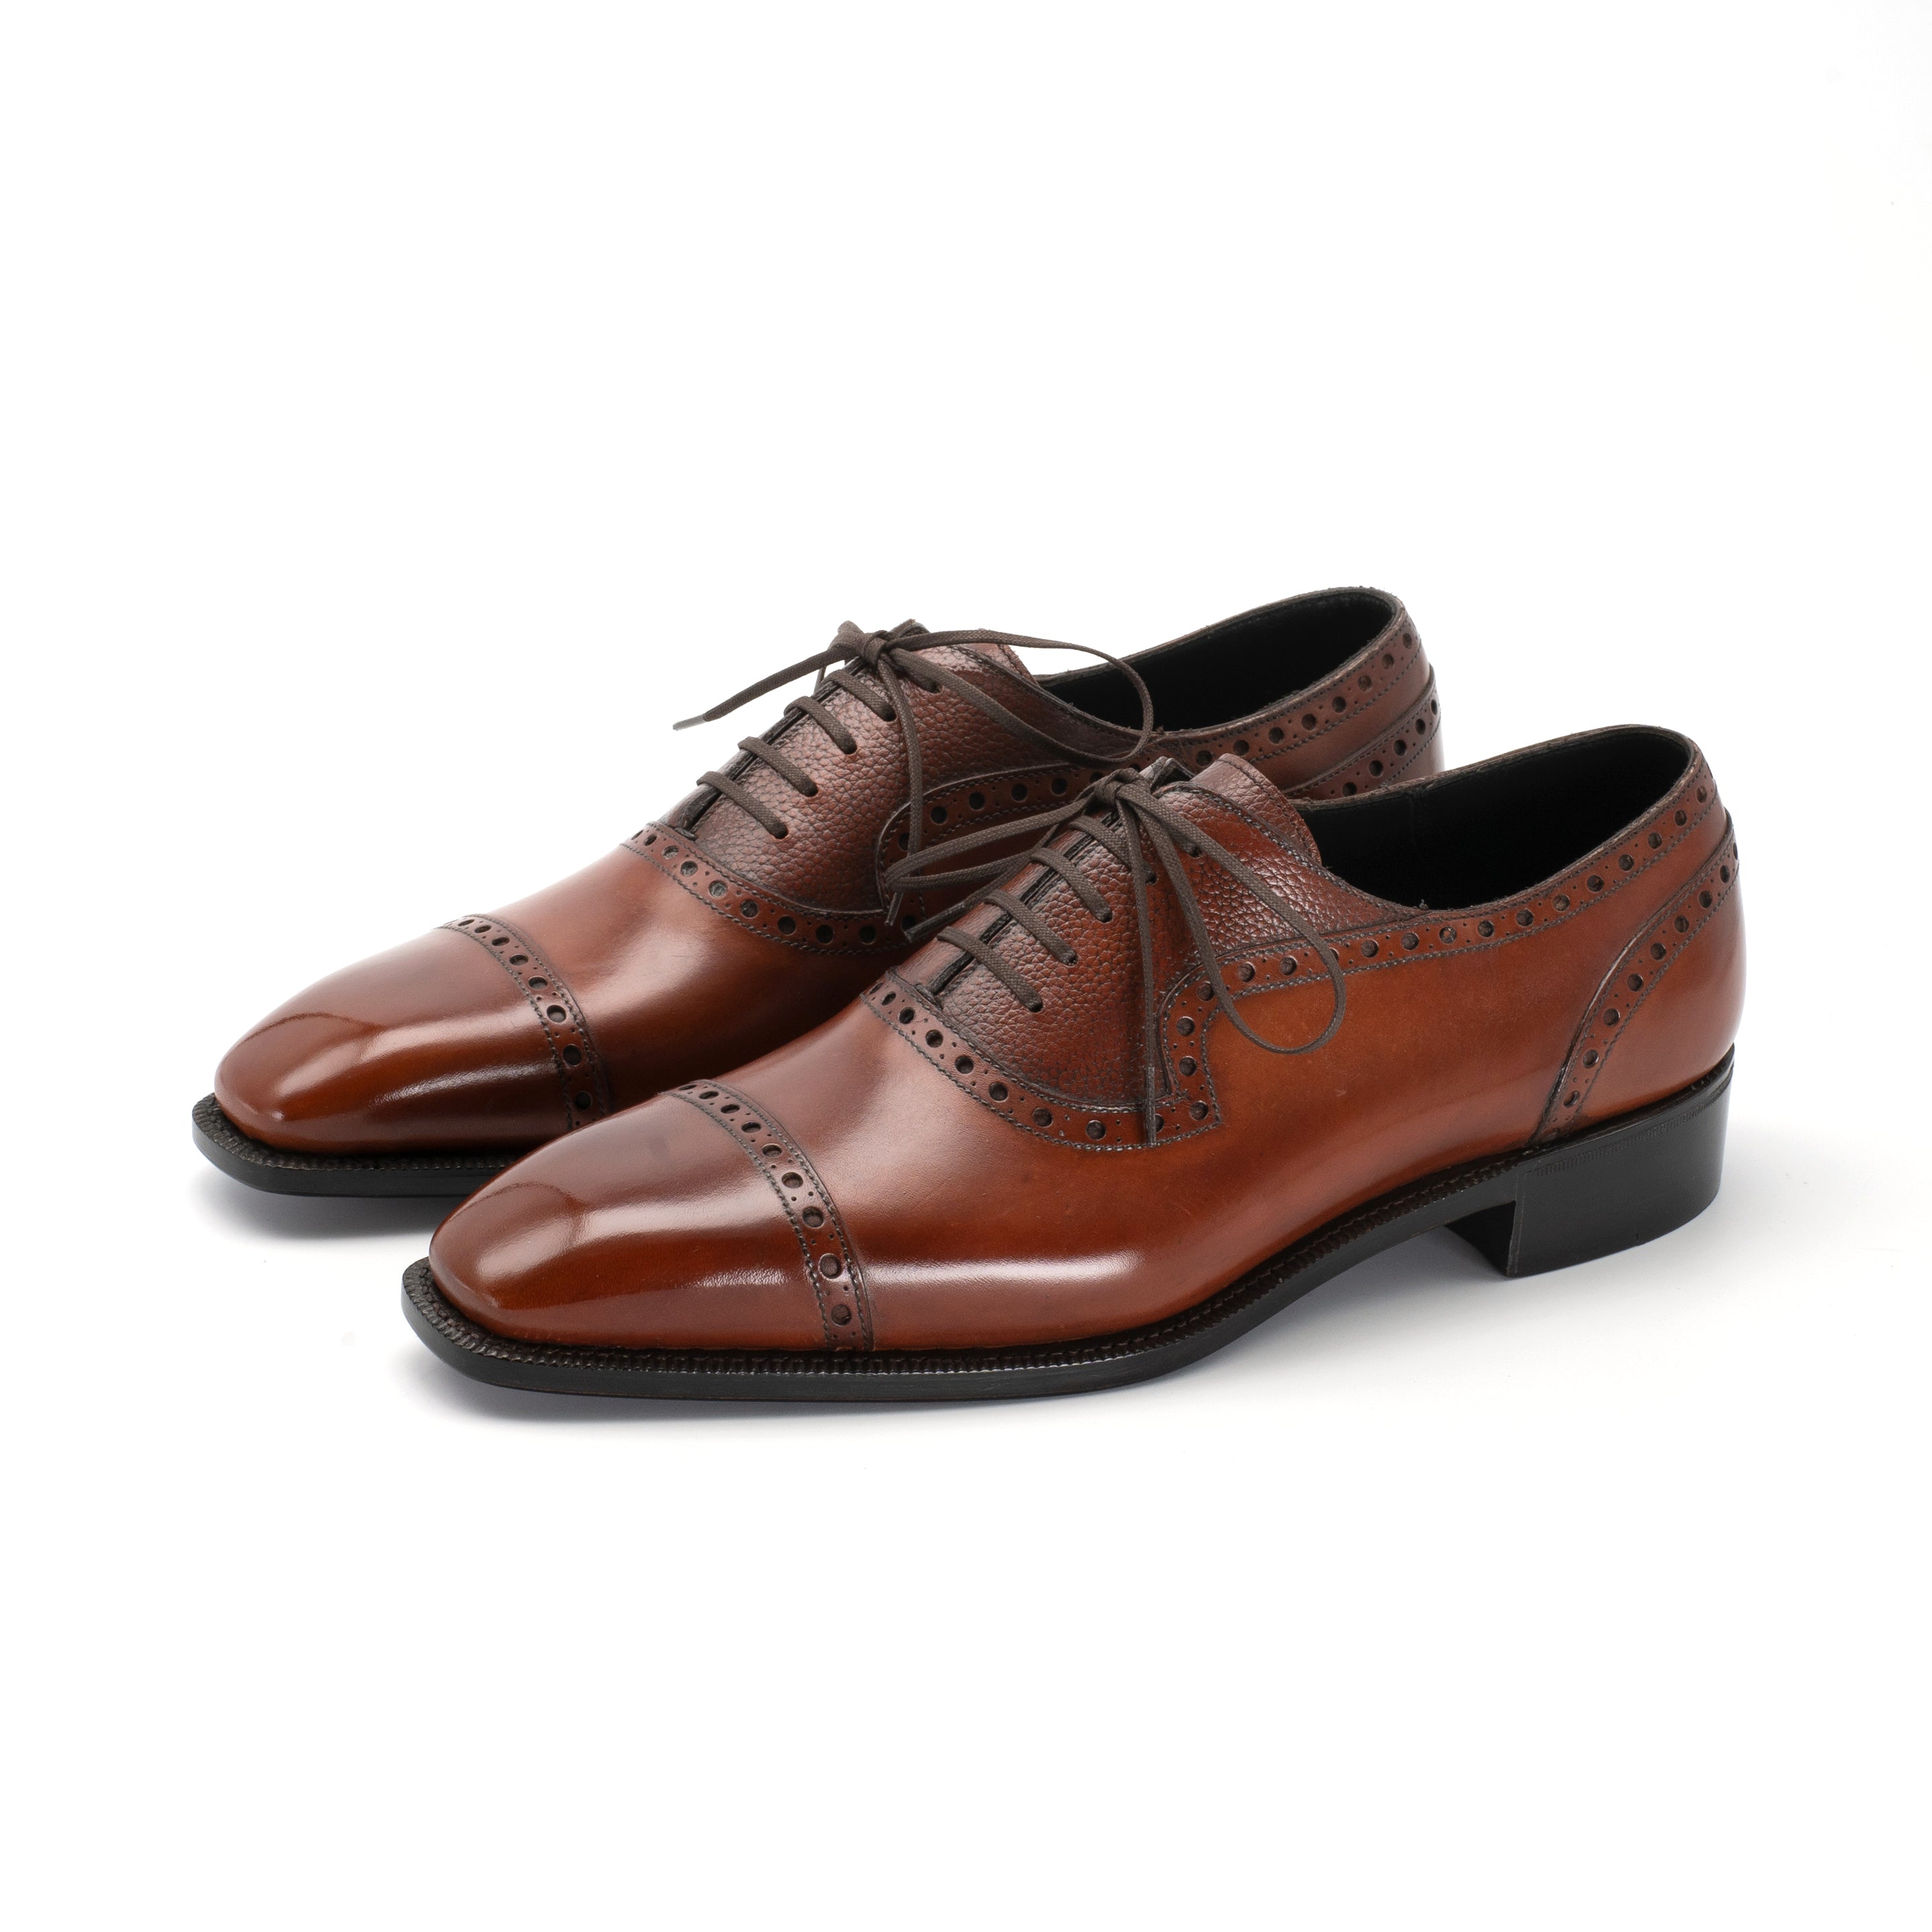
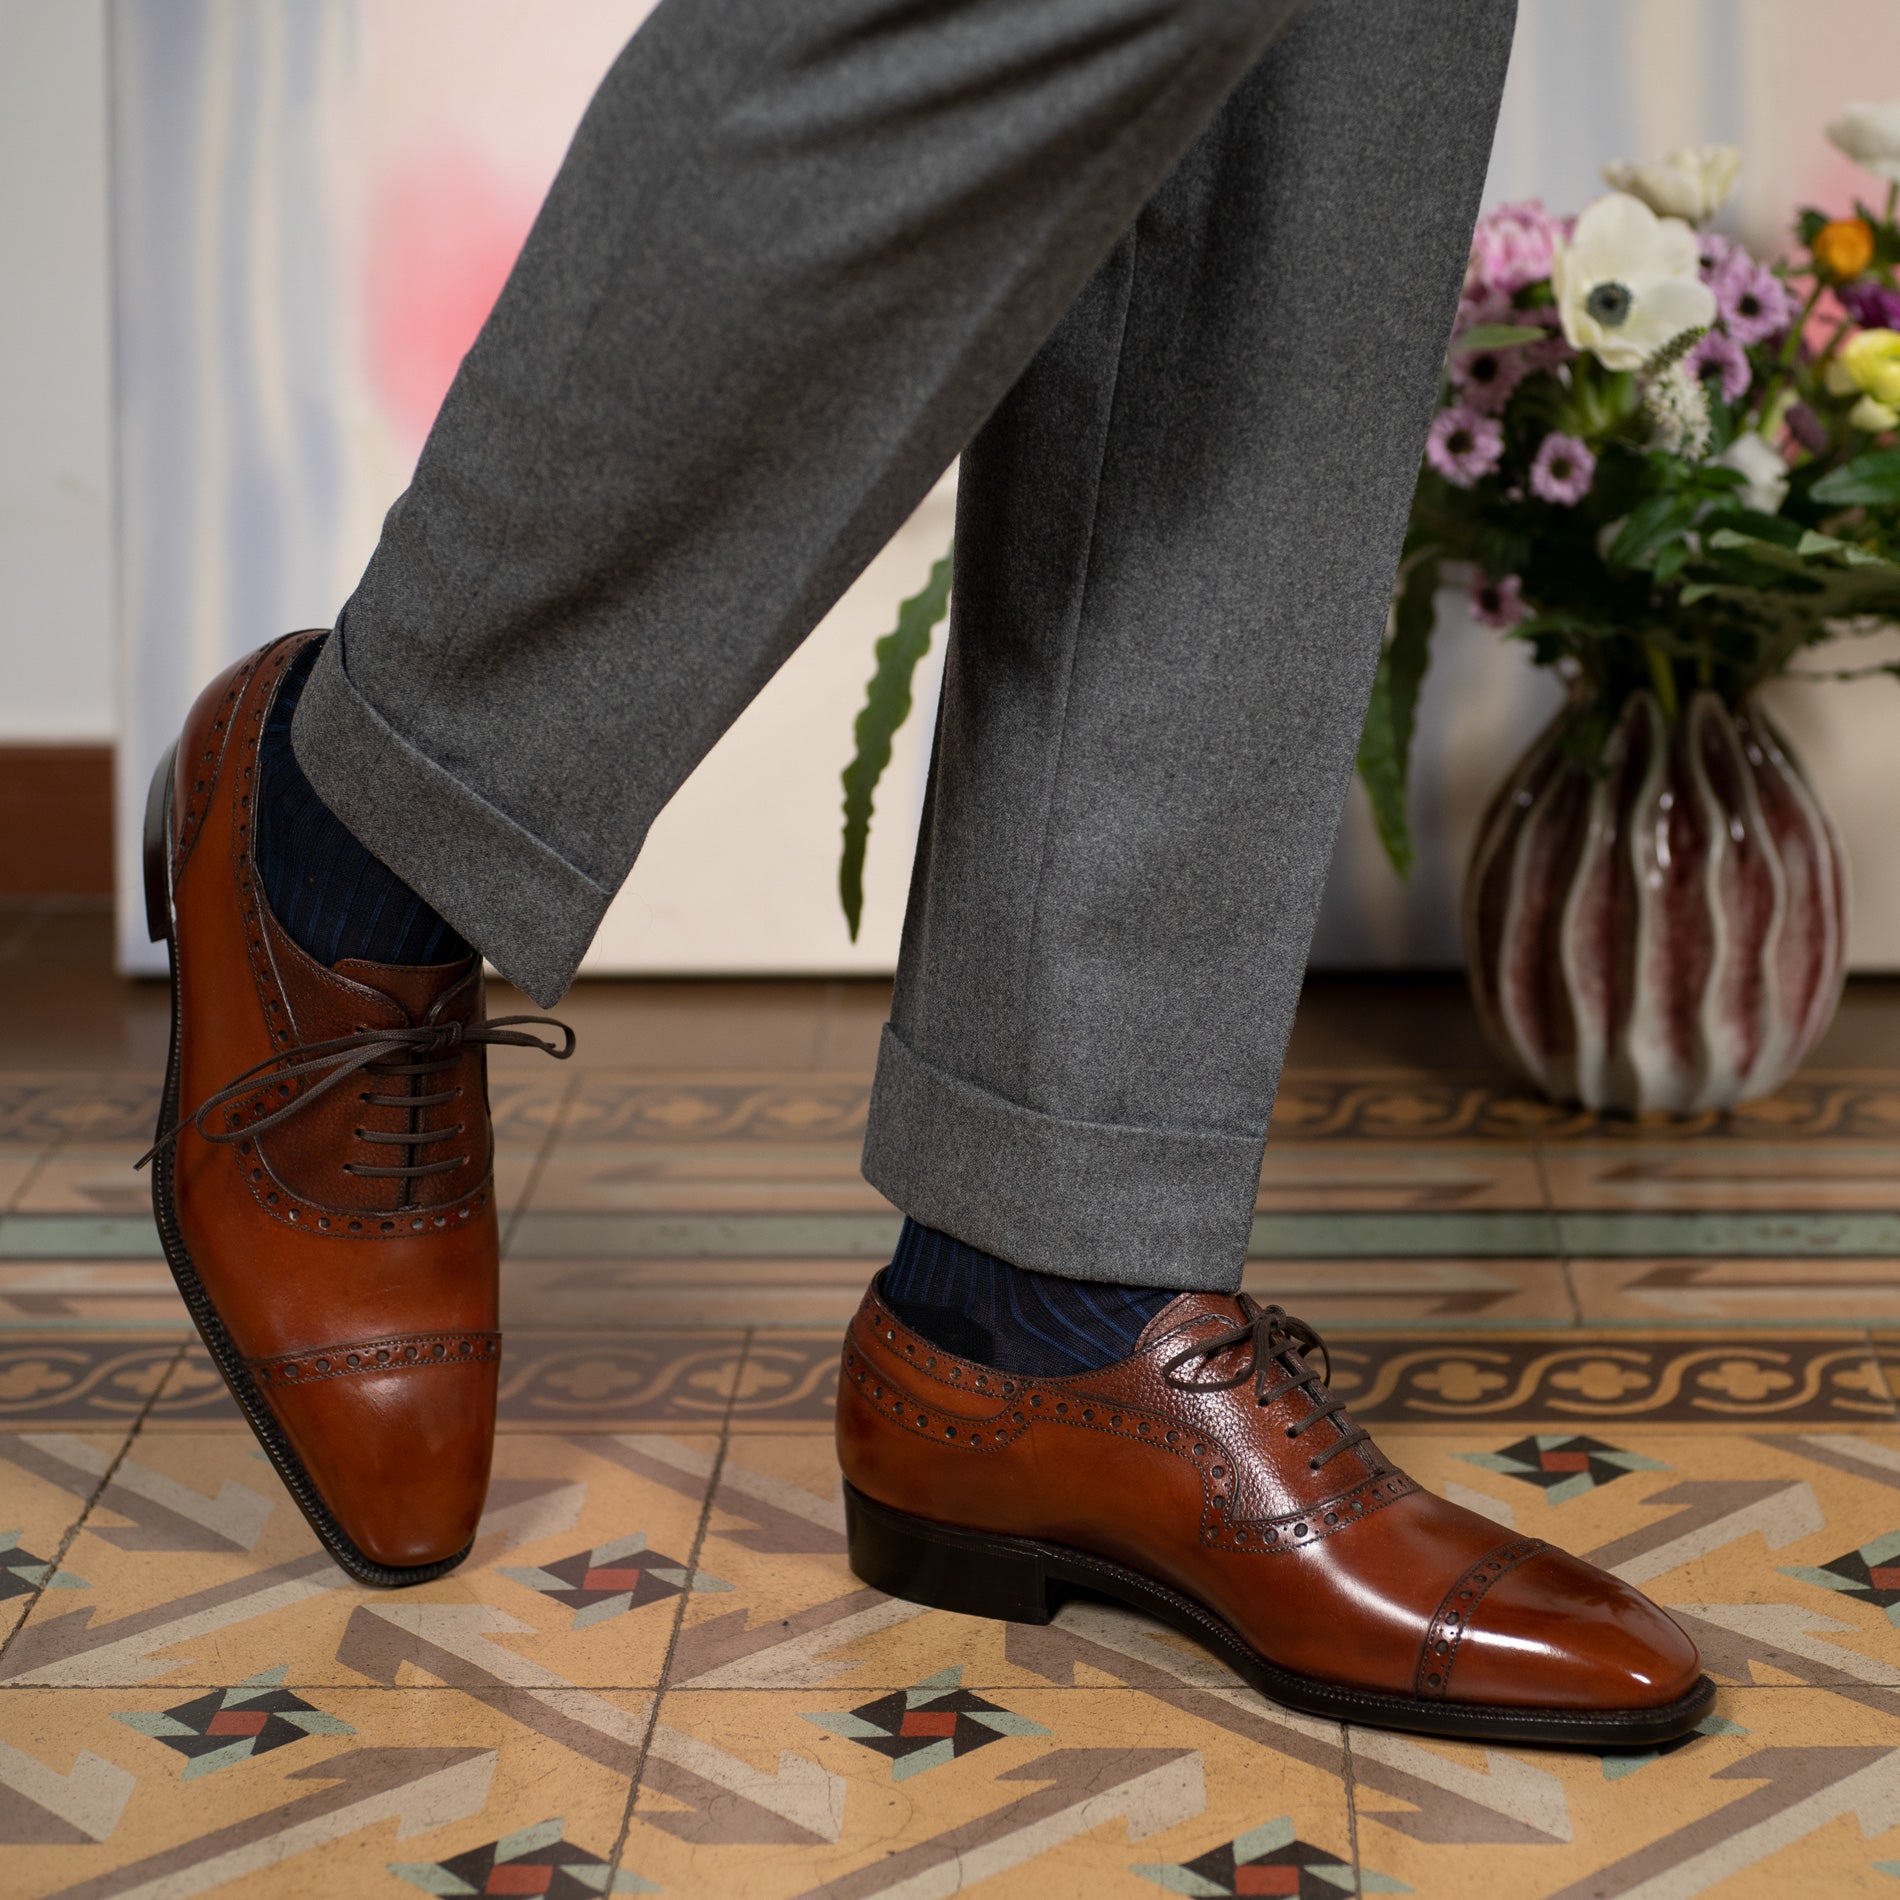
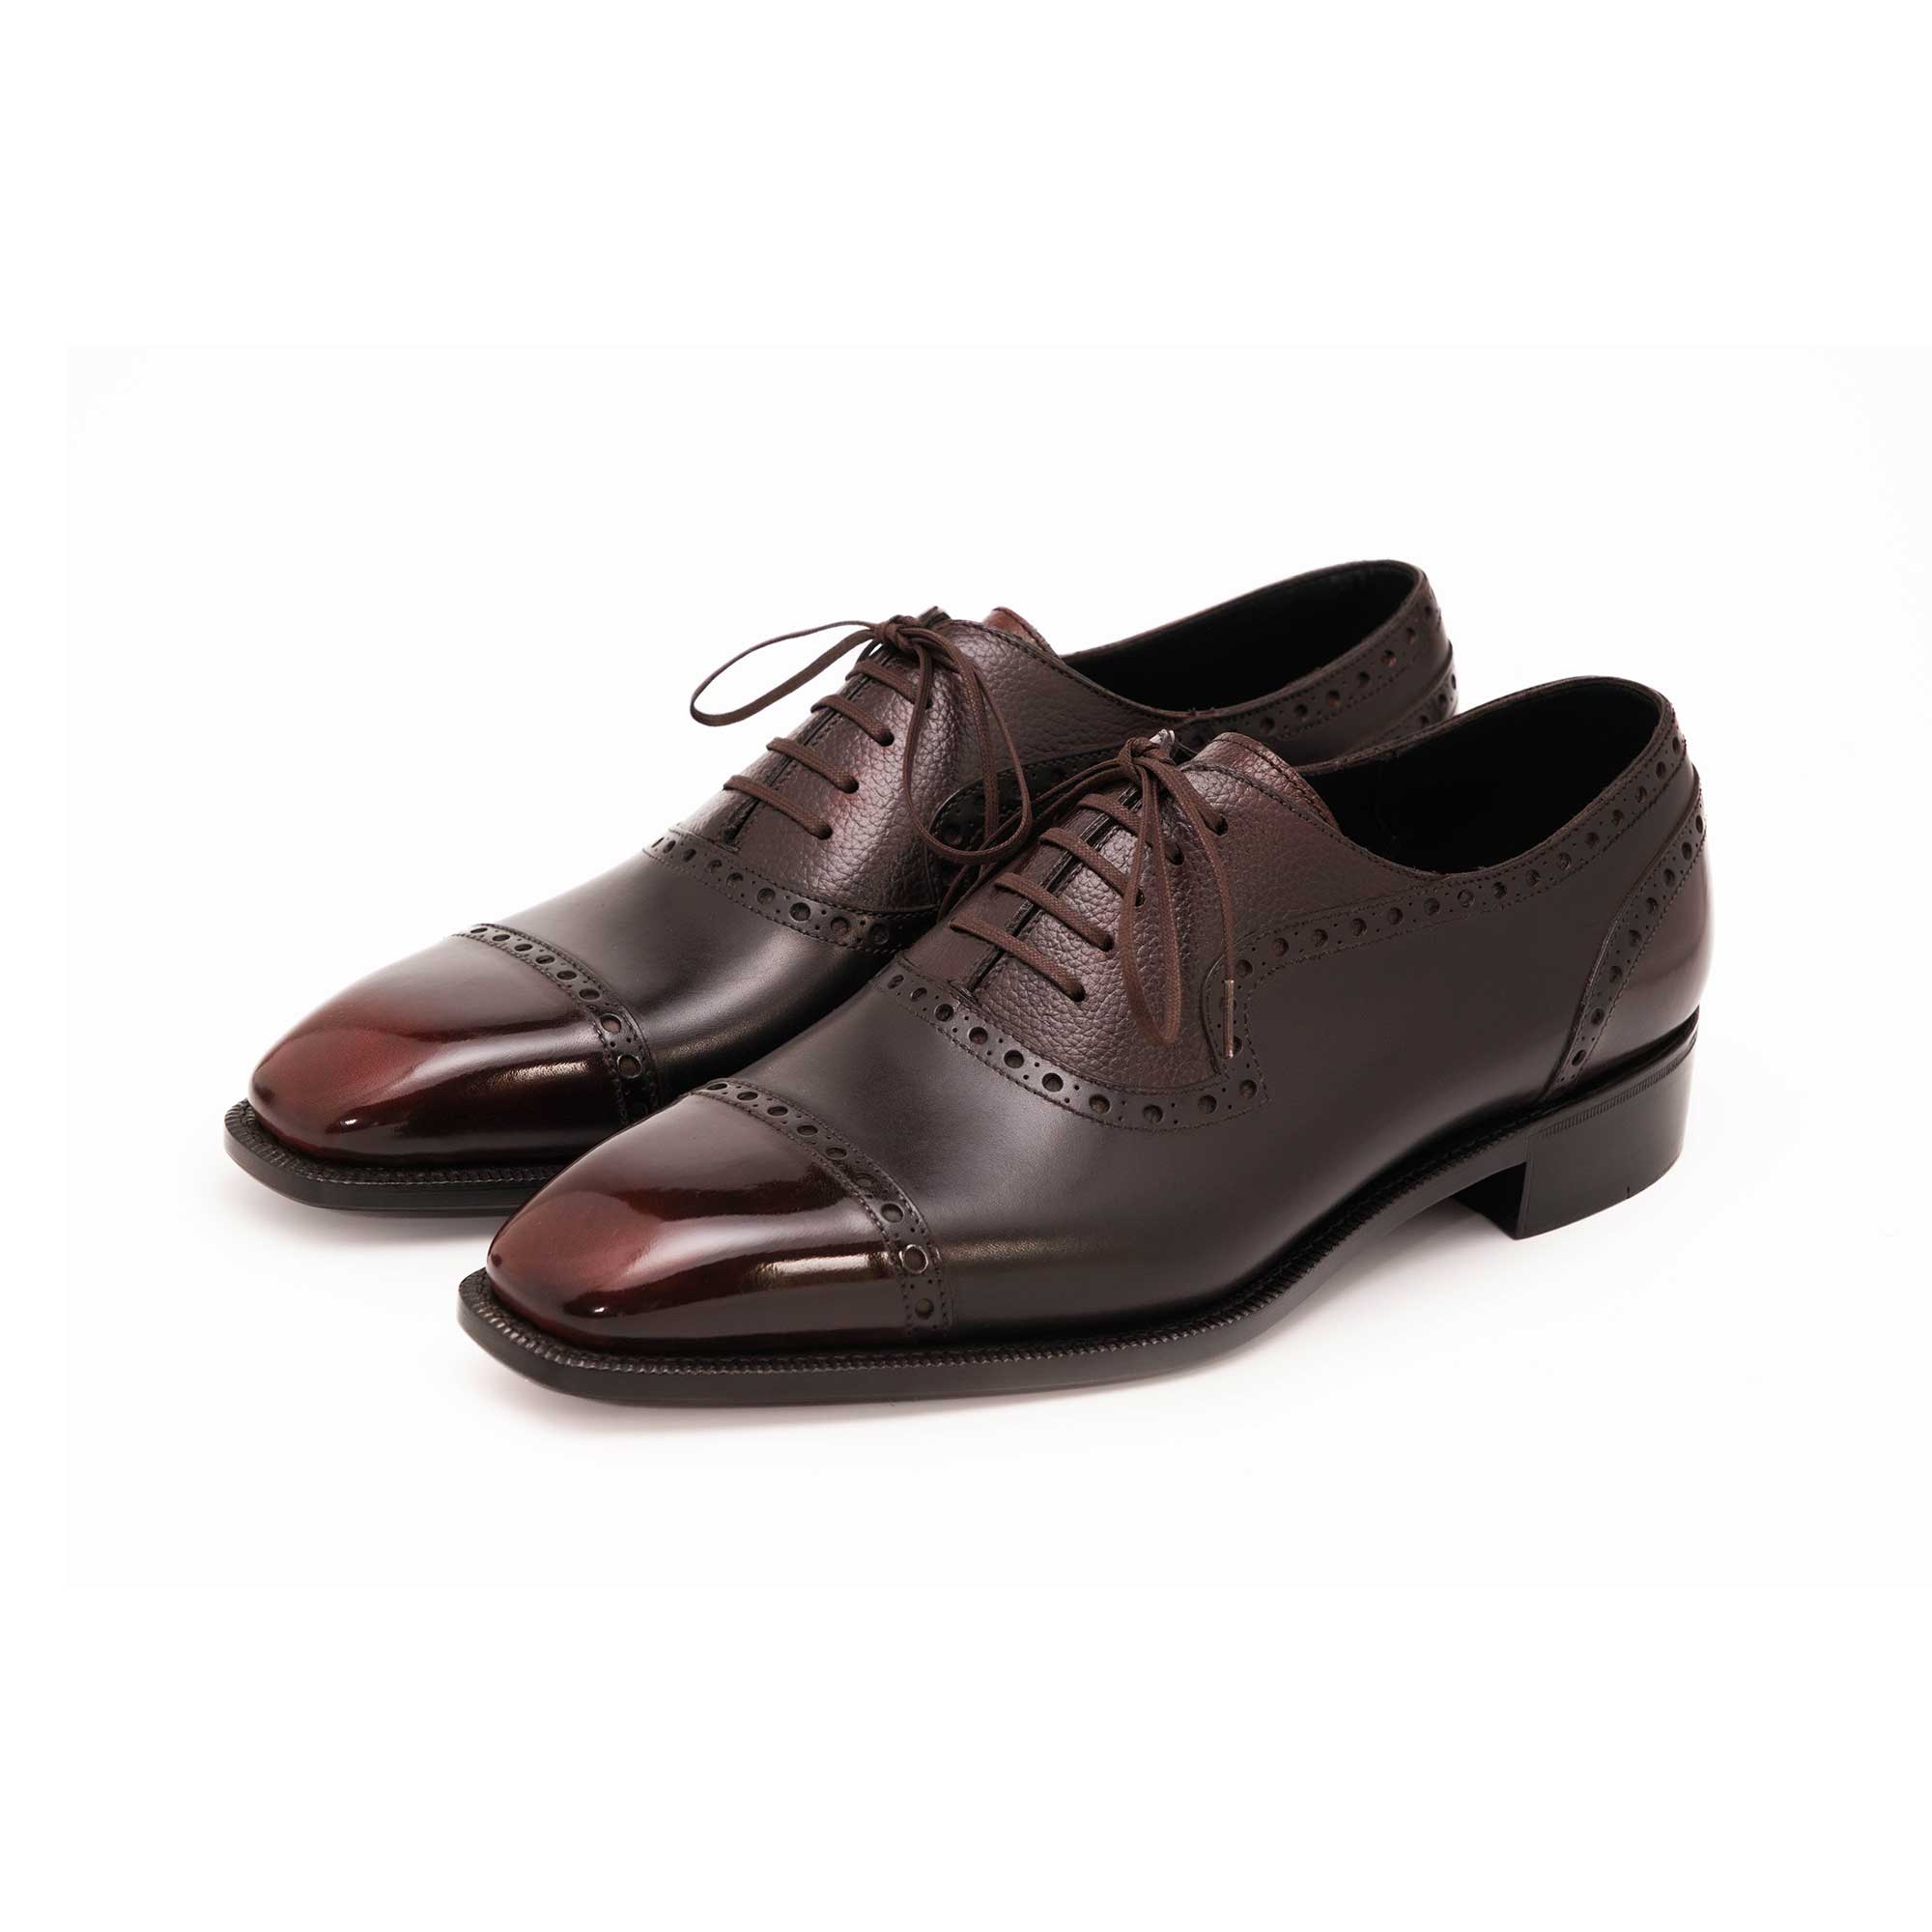
And our Derby Simple Shoe in brown...
It is our pleasure to walk you through our artisanal process and help spread knowledge on polishing. We’d like to thank everyone for reading, and hope that you’ve enjoyed this guide. If you have any questions about our 3D patina, feel free to contact us by email at sales@normanvilalta.com.
******
· Written by Christian Vingsand in collaboration with the Norman Vilalta team
· Christian is the founder of the first and only Norwegian shoe shine and shoe patina firm since 2017, C.G. Vingsand Shoeshine Trondheim, and avid wearer of the Norman Vilalta Derby Simple in 3D Patina
· Video features Jin Nagasaki, Professional Finisher of the Norman Vilalta team.

